

Best Accident Repair Checklist for Auckland Drivers
A collision can turn an ordinary trip through Grey Lynn or Ponsonby into a stressful afternoon very quickly. The best accident repair checklist gives you a clear order of priorities: protect people first, record what happened, notify the right people, then arrange repairs that restore your vehicle safely and properly.
Whether the damage is a scuffed bumper in a car park or a more serious crash, the decisions made in the first few hours can affect your insurance claim, repair timeframe and the long-term condition of your vehicle. Keep this guide on your mobile or in the glovebox so you are not relying on memory when you are shaken up.
Best accident repair checklist: what to do first
1. Stop safely and check for injuries
Pull over where it is safe to do so, switch on your hazard lights and check yourself, your passengers and anyone else involved for injuries. If someone is hurt, the road is unsafe, or emergency services are needed, call 111 straight away.
Do not move a seriously injured person unless there is an immediate danger. If the vehicles can be moved safely and are blocking traffic, pull them out of the flow of traffic where possible. On a busy Auckland road, staying visible and away from passing vehicles matters just as much as assessing the damage.
Avoid discussing blame at the scene. A simple, calm exchange of information is all that is needed. Fault is best handled through the insurers and the available evidence.
2. Exchange the right details
Get the other driver's full name, mobile number, address, registration number and insurer if they are willing to provide it. Record the make, model and colour of their vehicle as well. If a company vehicle, ute or courier van is involved, note the business name and any fleet number shown on the vehicle.
Write down the date, time and exact location while it is fresh. Details such as the street name, lane direction, weather conditions and whether traffic lights were involved can be useful later. If there are independent witnesses, ask for their names and contact details.
You do not need to agree on a version of events at the roadside. Be courteous, stick to the facts and leave the assessment to the appropriate parties.
3. Take clear photos before vehicles are moved
Photos are among the most useful records after an accident. Take wide shots that show where the vehicles were positioned, then closer images of all visible damage. Include number plates, road markings, traffic signs, intersections and any debris where it is safe to do so.
Photograph your car from several angles, even if only one panel looks damaged. An impact to a rear bumper, for example, can affect mounting points, sensors, lights or panels that do not look obviously damaged at first glance. Take a photo of the odometer too, particularly if you will be making an insurance claim.
If there is dashcam footage, save it before it is overwritten. Make a short note on your mobile describing what happened while you can still recall the sequence clearly.
4. Check whether your vehicle is safe to drive
Visible damage is not the only concern. Before driving away, check for fluid leaks, loose panels, damaged lights, rubbing tyres, steering changes, warning lights or a boot, bonnet or door that no longer latches securely.
Do not drive the vehicle if there is damage to a wheel, tyre, suspension, steering, windscreen, lights or any part that could make it unsafe. The same applies if the bumper is dragging, a panel is loose, or you suspect structural damage. Arrange a tow rather than risking a second incident or causing further damage.
For minor-looking cosmetic damage, it may be safe to drive, but it is still wise to have the vehicle inspected promptly. Modern cars can hide damage behind painted panels, especially around bumpers and parking sensors.
Start the insurance process without delay
Contact your insurer as soon as practical and provide an honest account of the accident. They will explain your policy cover, excess, claim number and whether they require an assessment before repairs begin. Keep your claim number, photos, contact details and any police event number together in one place.
Ask a few practical questions before authorising work: Is your preferred repairer approved? Will the insurer arrange an assessment? Is a replacement vehicle or loan vehicle available under your policy? What excess, if any, is payable? Clear answers early on help prevent surprises later.
You can also request a repair estimate, especially if you are paying privately or need to understand the likely scope before lodging a claim. A proper estimate should be based on an in-person inspection, not only a photo. Some damage becomes apparent once trims, bumpers or affected panels are removed.
Choose an accident repairer, not just the quickest quote
After an accident, it is tempting to choose the lowest figure or the workshop that promises an unrealistic turnaround. Price and speed matter, but a quality repair is about more than making a scrape disappear. The repairer needs to assess underlying damage, use suitable parts, correctly prepare the surface and match the paint colour across adjoining panels where needed.
Look for a workshop that can explain the repair plan in plain language. You should know which panels need repair or replacement, whether parts are available, how long the work is expected to take and what could change after a strip-down inspection. Honest advice is more useful than a rushed promise.
For insurer-funded work, choose a repairer experienced in insurer processes and documentation. This reduces the chance that you will be left coordinating updates between the workshop, assessor and insurer yourself. A local workshop should also be straightforward about communication, collection arrangements and whether a loan vehicle may be available.
Professional Panel + Paint in Grey Lynn works with Auckland drivers through assessment, insurer liaison, panel repairs and refinishing, with most suitable repairs targeted for completion in five to seven working days. The actual timeframe always depends on the damage, parts availability and insurer approval, so ask for an estimate based on your vehicle rather than relying on a generic promise.
Understand what a proper repair may involve
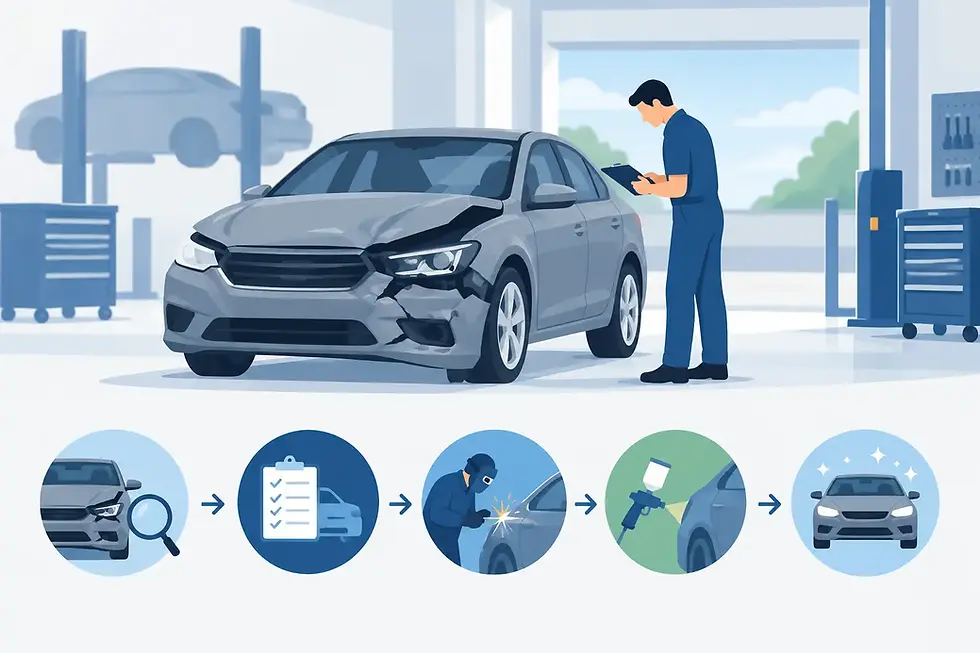
A dented guard or cracked bumper can require more than panel beating and paint. Depending on the impact, repairs may include bumper restoration, replacement clips and brackets, headlight alignment, sensor checks, corrosion protection, structural measurement or wheel alignment. These items are not add-ons for the sake of it. They help return the vehicle to its intended condition and safe operation.
Paintwork also deserves close attention. A repairer should use colour-matching technology and proper preparation to achieve a consistent finish. The age of the vehicle, paint fade and metallic or pearl colours can all affect the work required. In some cases, blending colour into adjacent panels is the best way to avoid a visible shade difference. It can add time or cost, but often produces the more professional result.
If you are considering a cash settlement instead of repairs, first make sure you understand what has been allowed for. A small payout may not cover hidden damage, quality paint preparation or replacement parts once the vehicle is stripped down.
Before you collect your vehicle
Collection day is your chance to inspect the result in good light and ask questions. Walk around the vehicle with the repairer and look at the repaired area from different angles. The paint should appear even, panel gaps should be consistent, and lights, sensors, doors, the boot and bonnet should operate as expected.
Check that warning lights have not appeared and that any personal items have been returned. If wheels or suspension were affected, ask whether alignment was checked. If the repair involved a bumper, ask whether parking sensors, cameras or other driver-assistance features were tested.
A reputable repairer will explain the work completed and any care advice for fresh paint. Avoid harsh washing, polishing or abrasive cleaning products for the recommended period after refinishing. If you spot a concern after collection, contact the workshop promptly so it can be assessed.
Keep a small accident kit in the car
A few simple items make this checklist easier to follow under pressure: a charged mobile, charging cable, pen, notepad, high-visibility vest, torch and your insurer's contact details. Your phone can do most of the documentation, but a paper note is useful if the battery is low or reception is poor.
No one plans to need accident repairs. If it happens, focus on safety, take good records and choose a repair partner that is prepared to explain the process without jargon. A calm, careful start gives you the best chance of getting back on the road safely and with no surprises.


Comments